Step 1/12
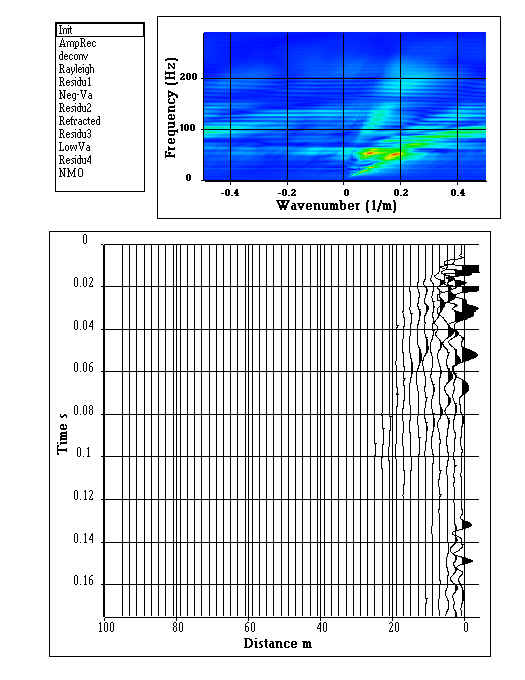
Display of the raw shot point
Step 2/12
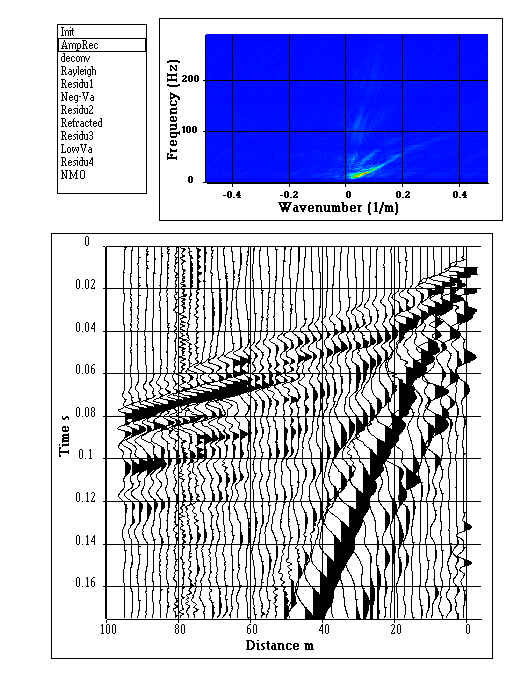
Amplitude recovery: one can mainly see surface waves such as Rayleigh waves and direct and refracted waves
Step 3/12
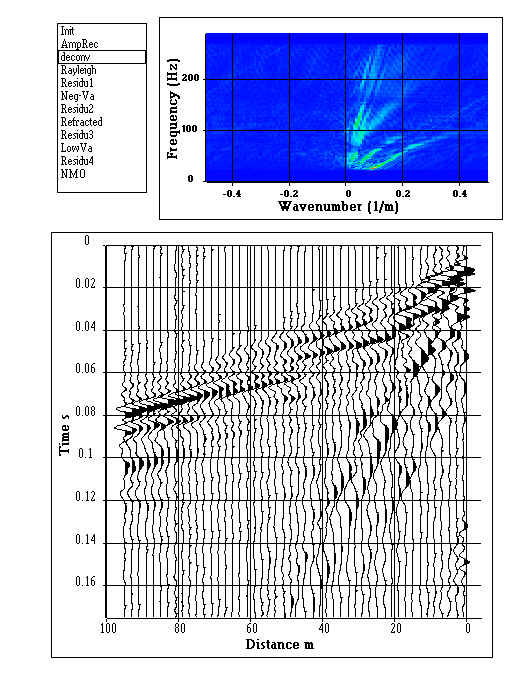
Deconvolution: the deconvolution increases the vertical resolution and facilitates the wave separation
Step 4/12

Extraction of Rayleigh modes by F-K filter
Step 5/12
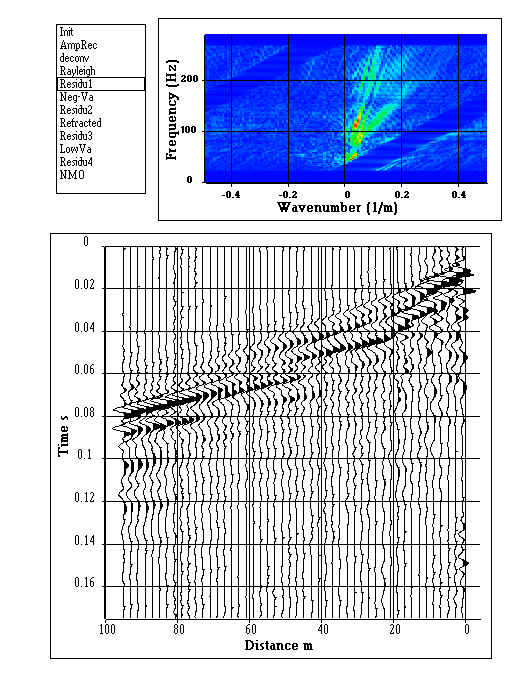
Computation of the first residual section: one can mainly see direct wave, refracted waves and seismic waves with negative apparent velocities
Step 6/12
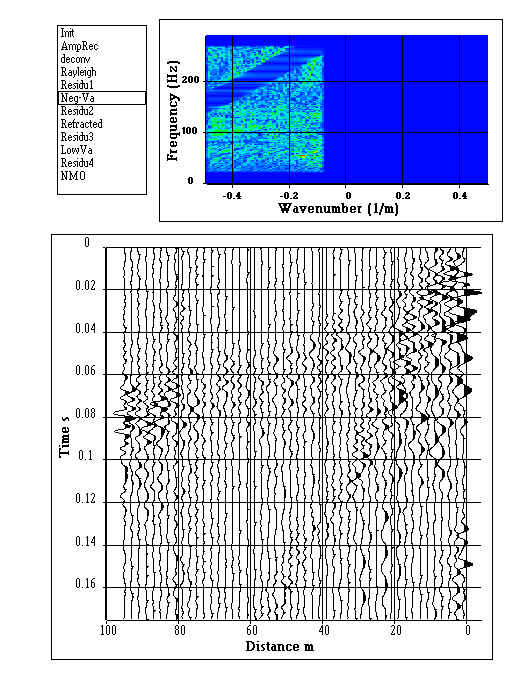
Extraction of seismic waves with negative apparent velocities by F-K filter
Step 7/12
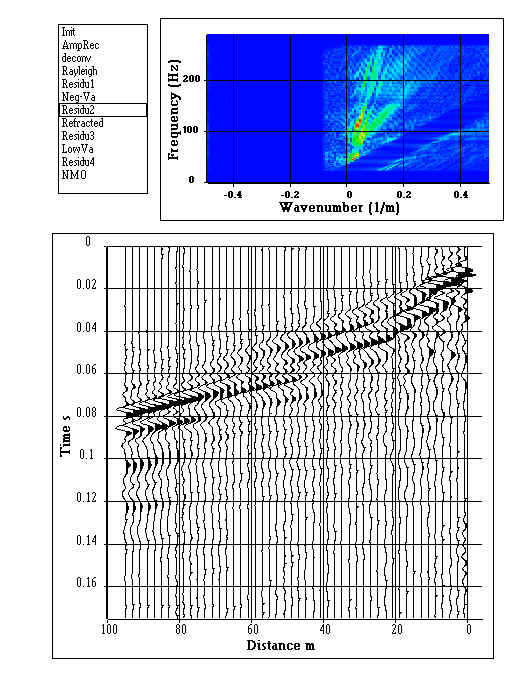
Computation of the second residual section: one can mainly see refracted waves
Step 8/12

Extraction of refracted waves by SVD filter
Step 9/12
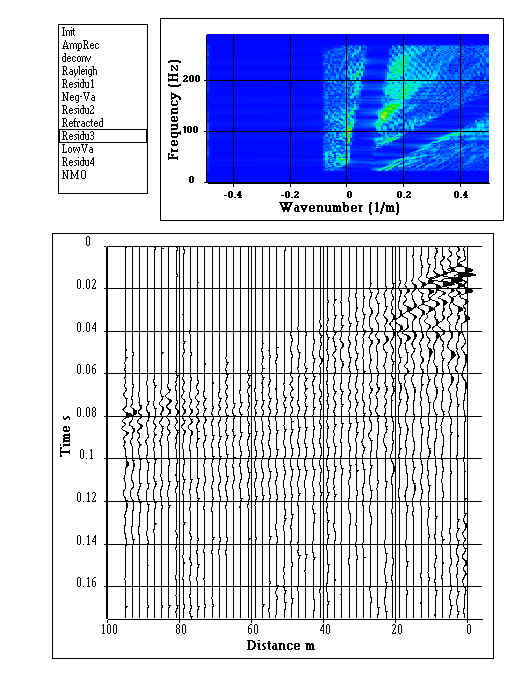
Computation of the third residual section: one can mainly see low apparent velocity waves and reflected waves
Step 10/12

Extraction of low apparent velocity waves by F-K filter : residual direct wave and surface waves
Step 11/12

Computation of the fourth residual section: Reflected waves and residual noise
Step 12/12

NMO correction with a constant velocity model (V = 2650 m/s). We can notice that the reflected waves between 0.06 and 0.08 s are under corrected


